
How To Use A Squat Rack: A Guide to Safety and Versatility
Introduction
Let's be direct. In the fitness equipment industry, the squat rack is more than just a piece of steel—it's the heart of any serious gym floor. For you—the distributor, the gym owner, the procurement manager—understanding this piece of equipment inside and out is crucial. Your clients aren't just buying a rack; they're investing in a centerpiece that needs to be safe, durable, and versatile enough to keep their members happy and engaged.
We’ll cover everything from the different types, like a wall mounted squat rack or a full power cage, to its many uses with a squat rack and bench.
What to Look For in a Quality Squat Rack?
When your clients are looking at squat racks, they're really asking, "Will this last, and will it meet my members' needs?" Here’s how you can break down the key features for them.
The Frame: Choosing the Right Backbone for Your Space
The frame is the foundation, and not all racks are built the same. The right choice often comes down to the available space and intended use.
-
Power Racks (Full Cages): This is the industry standard for commercial gyms. When a user wants to squat in squat rack, the four-post design offers the highest level of safety. It's a self-contained ecosystem for heavy lifting.
-
Half Racks: A great option for facilities needing to maximize floor space. A half squat rack provides the core functionality for squats and presses with robust safety arms but has a more open footprint.
-
Wall Mount Racks: The ultimate space-saver. A wall mount squat rack is perfect for smaller studios, personal training areas, or as the best squat rack for home gym setups. Many of these are a folding squat rack or foldable squat rack, meaning they can be collapsed against the wall when not in use.
-
Squat Bench Racks: These are simpler, often independent stands. While they serve the basic purpose of holding a bar for squats or a bench with squat rack exercises, they typically offer fewer safety features than a full cage.
The Essentials: J-Hooks and Safety Systems
These are the parts your clients' members will interact with every single day.
-
J-Hooks (or J-Cups): These hold the barbell. They need to be easy to adjust and lined with a protective plastic to prevent scratching the barbell's knurling and the rack's finish. This is a small detail that signals high quality.
-
Safety Bars or Straps: These hold the barbell. They need to be easy to adjust and lined with a protective material to prevent scratching the barbell's knurling and the rack's finish. This is a small detail that signals high quality.
The Extras That Add Real Value
Modern squat racks are complete training hubs. These integrated features are major selling points.
-
Pull-Up Bar: A A squat rack with pull up bar is practically a standard expectation now. A multi-grip bar that allows for neutral, wide, and narrow grips is a huge plus. The squat rack and pull up bar combination instantly adds a bodyweight training station.
-
Weight Storage: A squat rack with weights storage horns is a must for keeping a gym tidy and efficient. It keeps plates off the floor and right where the user needs them.
-
Cable Systems: For the ultimate all-in-one solution, a squat rack with cables is a game-changer. It combines a power rack with a full functional trainer, saving an incredible amount of space and money.
Setting Up for Success: A Quick Guide for Your Clients
The best equipment is only effective if it's used correctly. Here’s a simple, logical setup process you can teach your clients to pass on to their members.
Getting the J-Hook Height Just Right
Setting the J-hooks properly makes lifting safer and more efficient.
- For Squats: The bar should be set just below shoulder height. The user should be able to get under it with a slight knee bend and simply stand up to unrack it. No tippy-toes needed.
- For Bench Pressing: If you're using a squat rack for bench work, the hooks should be high enough that the user can unrack the bar by straightening their arms, but low enough that they don't have to lose their shoulder position to do it.
- For Overhead Press: Set the bar at about upper-chest level. This lets the user get under it comfortably to lift it into the starting front rack position.
Why You Never, Ever Skip Setting the Safety Bars
This is non-negotiable. The safety bars are what allow people to train hard with confidence.
- For Squats: Have the user find their bottom squat position. The safeties should be set an inch or two below the bar's height at that lowest point. If they fail, they can just set the bar down and walk away safely.
- For Bench Pressing: On a squat and bench rack, the safeties should be positioned just slightly above the user's chest when they have a natural arch in their back. This gives them a full range of motion but prevents the bar from pinning them.
 \
\
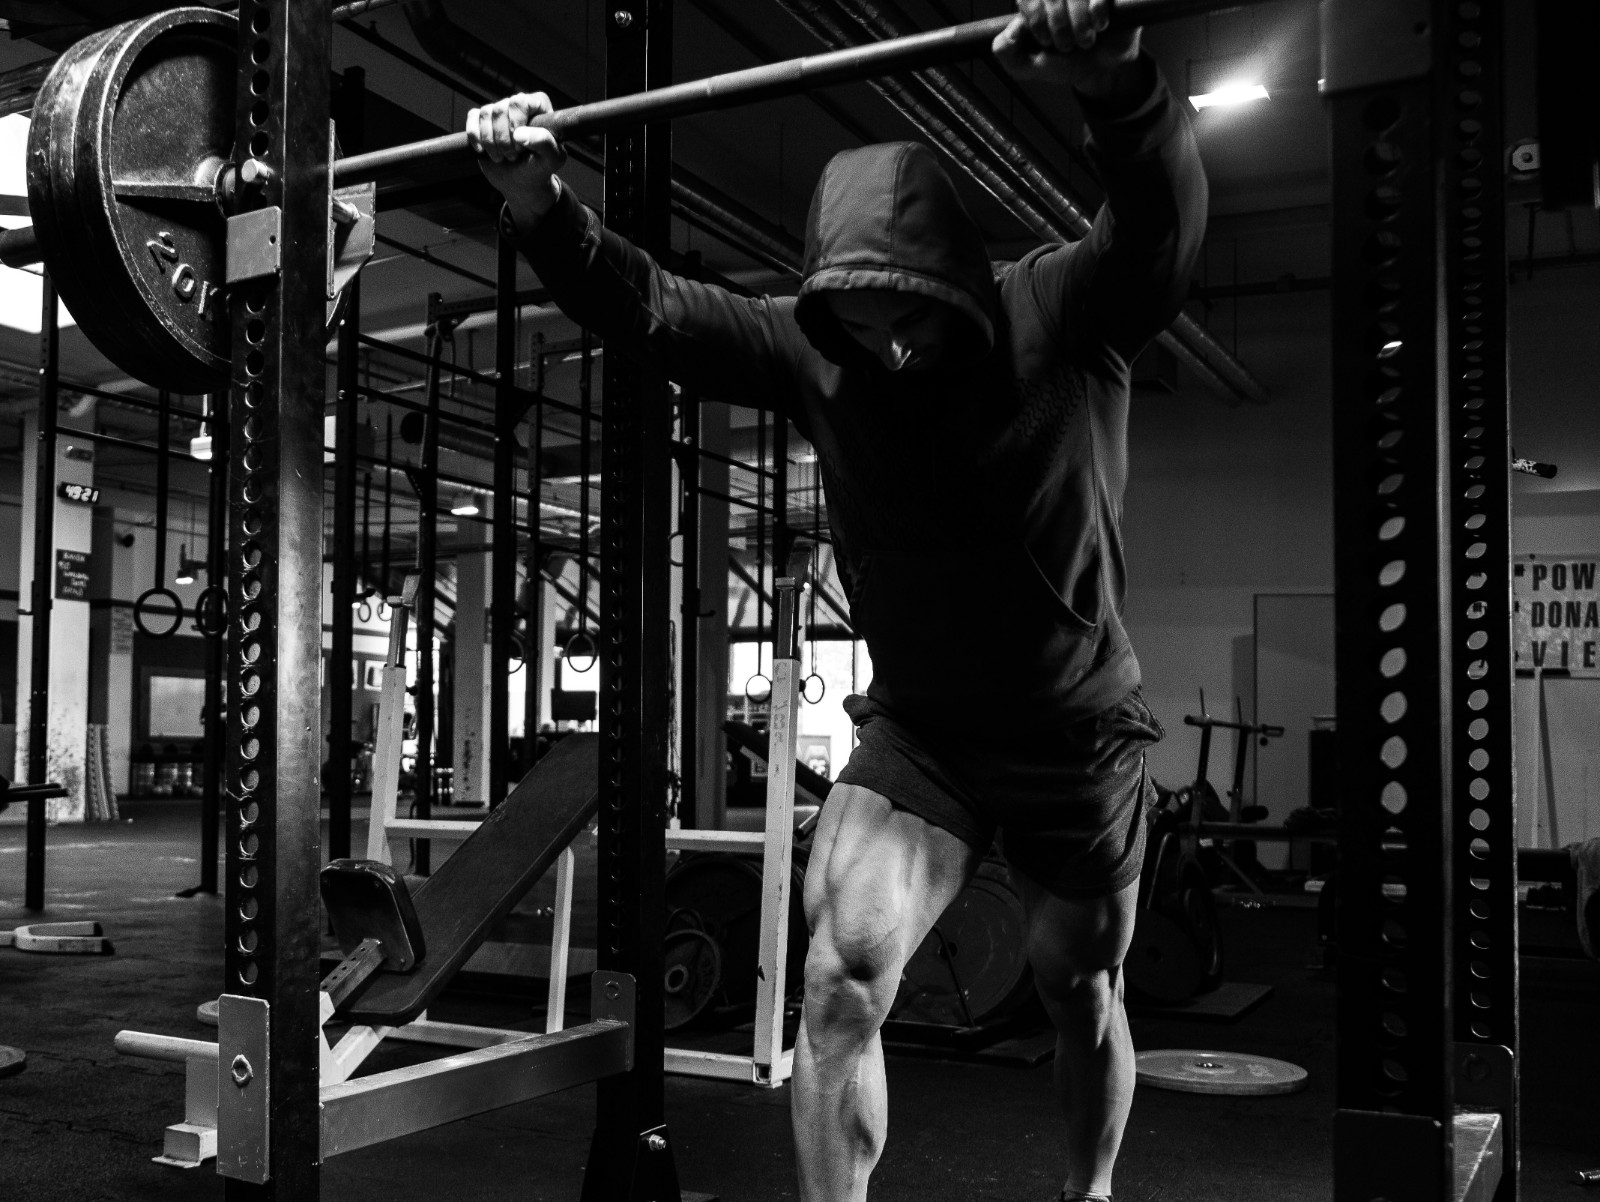
The Bread and Butter Lifts: The Core of the Squat Rack
This is where the squat rack proves its worth. It’s the safest place to perform the most effective strength-building exercises.
The Barbell Back Squat
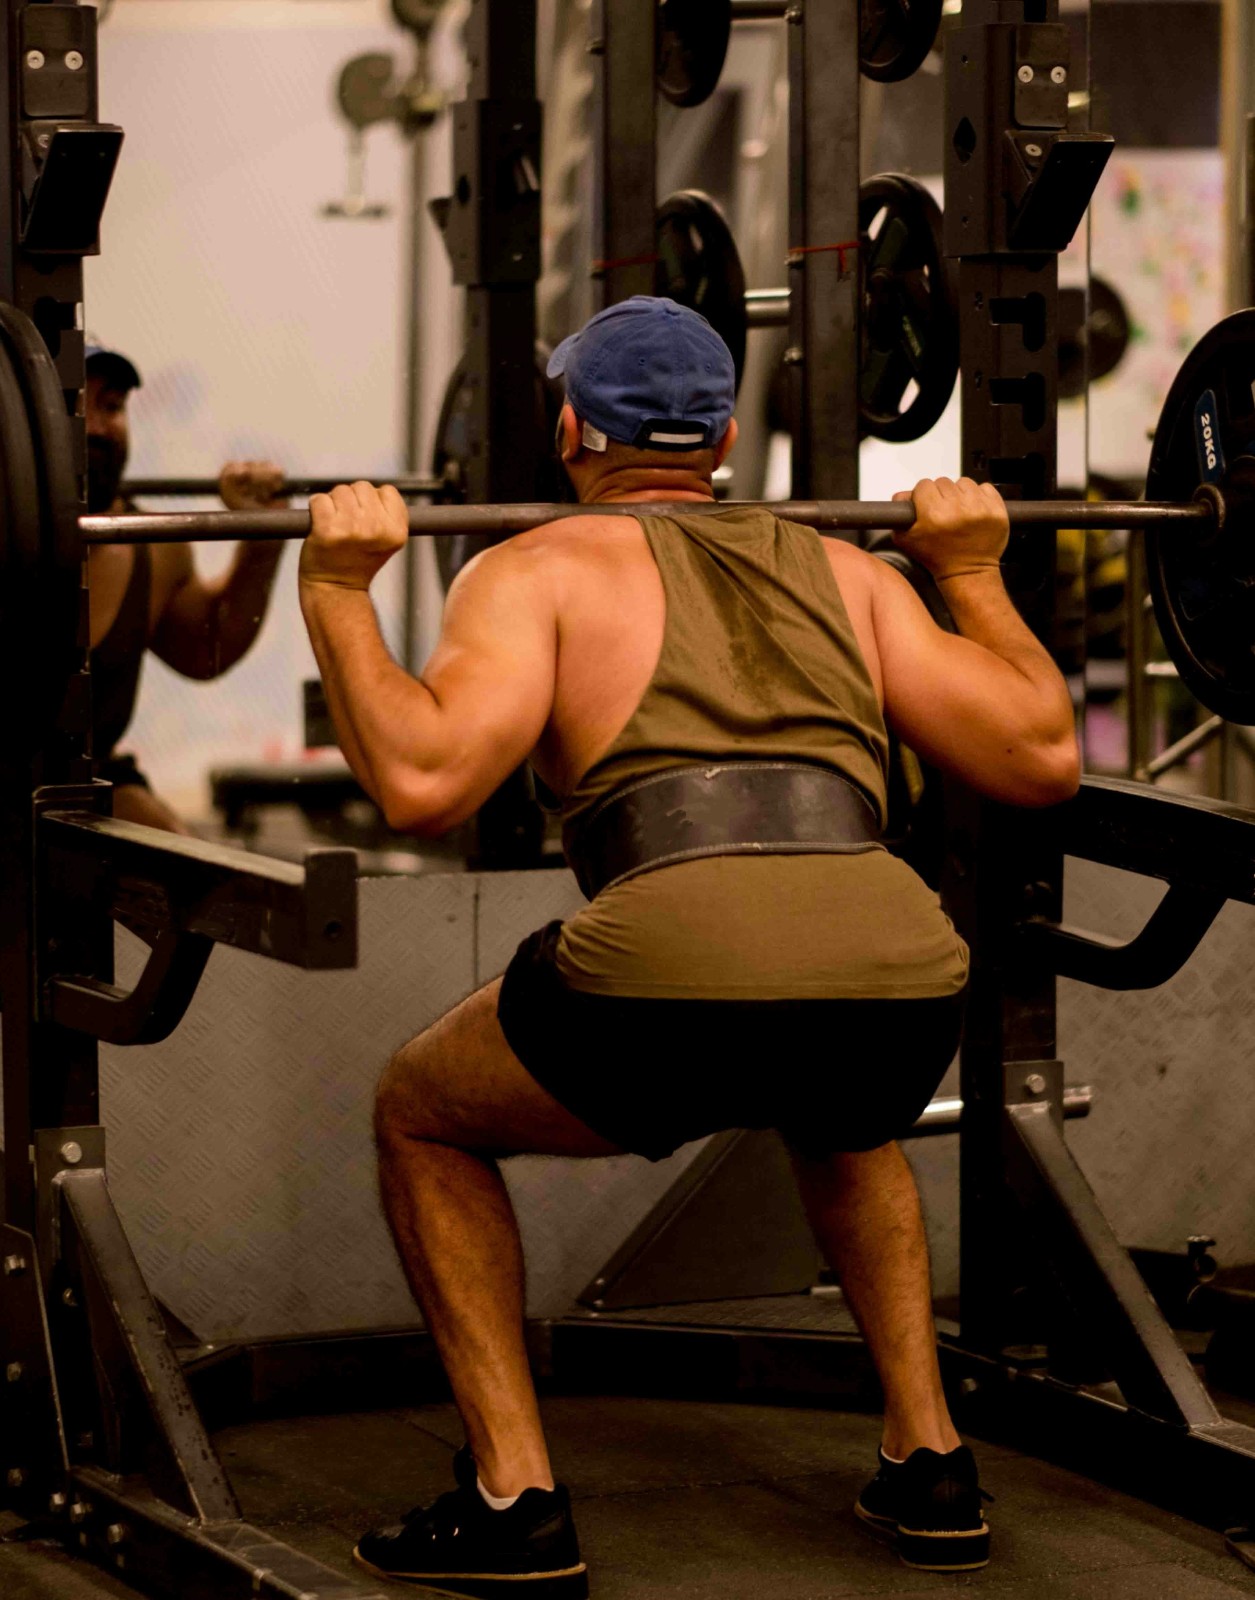
This is the king of lower body exercises. The squatting rack provides a secure environment to push your limits.
-
Get Set: Set the hooks and safeties. Get under the bar, placing it on your upper back muscles (traps), not your neck.
-
Unrack: Brace your core, stand up straight, and take one or two small, deliberate steps back.
-
The Squat: Keep your chest up and back straight. Break at the hips and knees, lowering yourself under control until your thighs are at least parallel to the floor.
-
Drive Up: Push through your whole foot to stand back up powerfully.
-
Re-rack: Walk forward until the bar hits the rack's uprights, then simply bend your knees to set it back on the J-hooks.
The Bench Press
Using a bench inside a power rack is the safest way to press heavy. This bench and squat rack setup is a gym staple for a reason.
-
Set Up: Place the J-hooks at upper-chest height.
-
The Press: Unrack the bar to your shoulders. Keep your core tight to protect your back, and press the bar straight overhead until your arms are locked out. Lower it with control.
More Than Just Squats: Unlocking a Rack's Full Potential
-
Rack Pulls: Set the safety bars just below your knees and perform a heavy partial deadlift. It’s fantastic for building back strength with less strain.
-
Barbell Rows: You can set the bar on the safety pins at a low height to start your rows from a dead stop, which is great for building explosive power.
-
Inverted Rows: Put an empty barbell on the J-hooks and you've got a bodyweight rowing station—perfect for all fitness levels.
-
Pull-Ups: Don't forget the built-in squat rack and pull up bar! It's a fundamental exercise that every good rack should accommodate.
So, a squat rack isn't just a place to squat. It's the central hub of a strength floor, a symbol of a gym that's serious about results. Whether it's a compact home squat rack or a row of commercial power cages, its value comes from its safety, durability, and versatility. By understanding these points, you can guide your clients to make the best possible investment for their facility—one that will pay dividends in member satisfaction and retention for years to come.
Frequently Asked Questions (FAQ)
Q1: Power rack vs. half rack - what's the real difference for a gym?
A power rack is a full cage you work inside of, offering maximum safety. A half squat rack is more open, saving floor space while still providing essential safety with spotter arms. The choice really depends on your client's space and budget. Is Q2: Is a wall mounted squat rack strong enough for a commercial gym?
Absolutely, provided it's installed correctly on a suitable wall. A commercial-grade wall mount squat rack is built to handle heavy loads and is an excellent solution for personal training studios or dedicated lifting zones where space is tight.
Q3: My client is looking for the best squat rack for a home gym. What should I recommend?
For a squat rack home gym setup, a foldable squat rack or a good quality half rack is often the best squat rack because it balances functionality with a smaller footprint.
Q4: What should I look for when I see a squat rack for sale?
Look at the steel gauge , the quality of the welds, the thickness of the safety bars, and the ease of adjusting the J-hooks. A stable, heavy base is also critical. Don't just look at the price; look at the long-term value.
Let's Build a Better Gym Floor, Together
Ready to provide your clients with the durable, versatile, and safe squat racks their facility deserves? We're here to help you with the specs, information, and wholesale pricing you need.
Contact us today to explore our full range of commercial-grade strength equipment.
Email: kungfu@rzkungfu.com